Sound Kit Instructions from Jx Studios
Thank you for choosing a Jx Studios sound kit! This comprehensive guide is designed to help you seamlessly integrate your new sound kit with your Digital Audio Workstation (DAW) and elevate your music production experience.
1. Introduction:
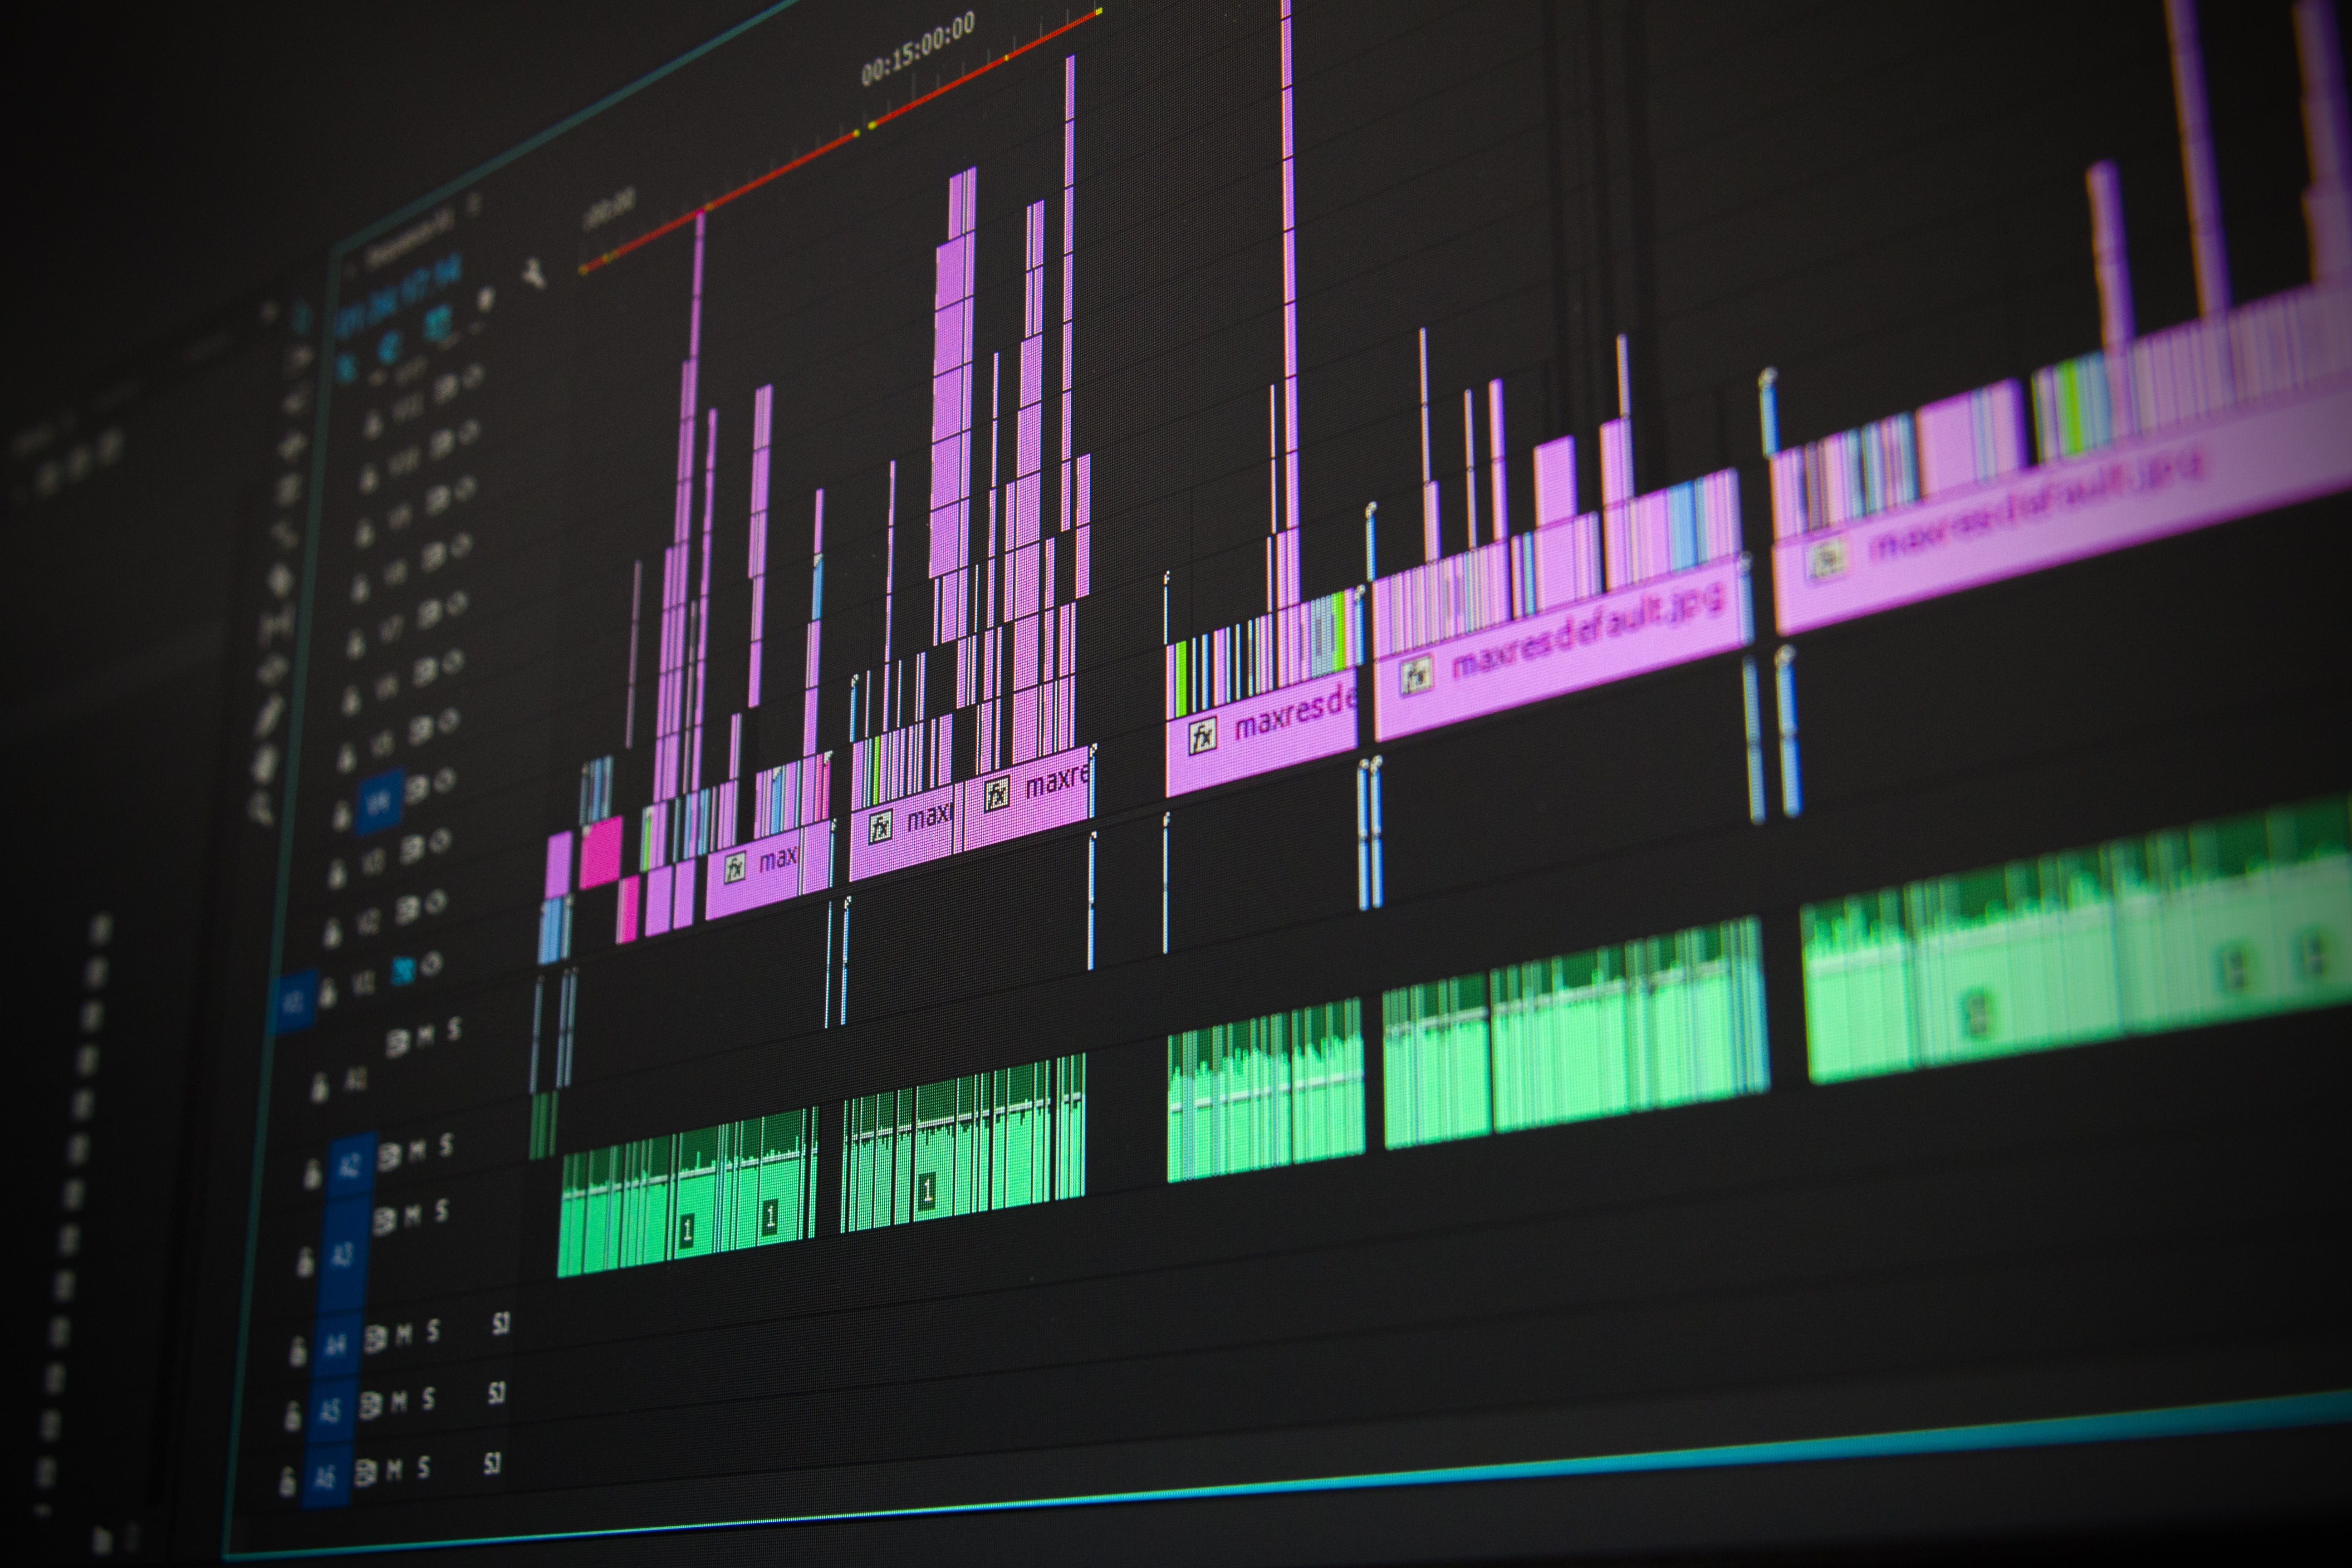
Sound Kits from Jx Studios are collections of high-quality samples, loops, and presets designed to enhance your music production experience. This manual will walk you through the necessary steps to install your sound kit and use it effectively in your DAW.
2. System Requirements:
Before proceeding, please ensure your computer meets the following minimum system requirements:
- A compatible DAW (Ableton Live, FL Studio, Logic Pro, etc.)
- At least 5 GB of free storage space (Will vary depending on your purchase)
- A reliable internet connection (for initial download)
Upon purchase, you will receive a download link for your sound kit in a ZIP file format. Follow these steps to download and extract the sound kit:
- Click on the provided download link to begin the download process.
- Locate the downloaded ZIP file in your computer's Downloads folder (or your chosen destination).
- Right-click on the ZIP file and select 'Extract All' or use a third-party extraction tool such as WinRAR or 7-Zip.
- Choose a destination for the extracted folder (e.g., your Desktop or Documents folder) and confirm the extraction.
To begin using your sound kit within your DAW, follow the steps below:
- Open your DAW and create a new project or open an existing one.
- Locate the 'Browser' or 'File Explorer' within your DAW (the name and location may vary depending on your DAW).
- Navigate to the folder where you extracted your sound kit (e.g., Desktop or Documents folder).
- Click and drag the sound kit folder into your DAW's browser or file explorer.
Your DAW will now recognize the sound kit folder, and its contents will be available for use in your projects.
5. Using the Sound Kit in Your Projects:
Our sound kits include a variety of samples, loops, and presets that can be easily integrated into your music production workflow. To use these sounds in your projects, simply:
- Browse your sound kit folder within your DAW to find the desired sound.
- Click and drag the sound (sample, loop, or preset) onto the appropriate track or instrument.
- Adjust the sound's parameters (volume, pan, effects, etc.) as needed to fit your project.
- Repeat the process for additional sounds from your sound kit to build your composition.
6. Saving and Organizing Your Sound Kits:
To keep your sound kits organized and easily accessible, consider the following tips:
- Create a dedicated folder on your computer for all your Jx Studios sound kits. This will make it easier to locate and manage them in the future.
- Name each sound kit folder clearly and consistently, so you can quickly identify the contents.
- If you frequently use specific sounds from your sound kits, consider creating a "favorites" folder within your DAW or on your computer for easy access.
7. Installing Presets for Plugins (Massive and Serum) and Using MIDI Files:
In addition to samples and loops, your Jx Studios sound kit may include presets for popular plugins like Massive and Serum, as well as MIDI files to help you create your own melodies and chord progressions. Follow the steps below to install presets and use MIDI files in your projects:
A. Installing Presets for Massive (Using View Finder):
- Open your DAW and create a new project or open an existing one.
- Add an instance of Massive to a track or instrument.
- In Massive, click on the 'Browser' tab located at the bottom right corner of the plugin window.
- Click on the folder icon next to the 'Directories' section on the right side of the Browser tab.
- Navigate to the folder where you extracted your sound kit and locate the Massive presets folder. Select the folder and click 'Choose' or 'OK' to set it as a directory.
- The Massive presets from your sound kit will now appear in the browser list. Click on a preset to load it into Massive.
By using the Massive view finder, you can easily browse and load presets directly from the plugin, streamlining your workflow and making it more convenient to switch between presets during your music production sessions.
B. Installing Presets for Serum:
- Open your DAW and create a new project or open an existing one.
- Add an instance of Serum to a track or instrument.
- In Serum, click on the preset menu at the top of the plugin window.
- Click on 'Show Serum Presets Folder' to open the folder where your Serum presets are stored.
- Copy the Serum presets from your sound kit folder into the Serum presets folder.
- Go back to Serum and click on the preset menu again to see the newly installed presets. Click on a preset to load it into Serum.
C. Using MIDI Files:
- Open your DAW and create a new project or open an existing one.Locate the 'Browser' or 'File Explorer' within your DAW (the name and location may vary depending on your DAW).
- Navigate to the folder where you extracted your sound kit and find the MIDI files folder.
- Click and drag the desired MIDI file onto a track or instrument in your DAW.
- The MIDI file will load as a sequence of notes, which can be played back with any compatible instrument or plugin.
- You can edit, transpose, or rearrange the notes in the MIDI sequence to fit your project.
Now that you've successfully installed your plugin presets and learned how to use MIDI files in your projects, you can further customize and enhance your music productions with the unique sounds and tools.
8. Troubleshooting:
If you encounter any issues while using your sound kit, refer to the following troubleshooting steps:
- Make sure you have properly extracted the ZIP file and imported the sound kit folder into your DAW.
- Ensure that your DAW is compatible with the audio formats included in the sound kit.
- Check for software updates for your DAW and operating system, as compatibility issues may arise with outdated software.
If you continue to experience issues, consult your DAW's user manual or reach out to Jx Studios' customer support for assistance.
Conclusion:
We hope this instruction manual helps you enjoy your new sound kit and elevate your music production experience. Remember to explore and experiment with the sounds provided, as they are designed to inspire and empower your creativity.
Happy music-making!
The Jx Studios Team
www.jxstudios.ca

%20and%20elevate%20your%20mu...)